How to Make a Painting Brush in Photoshop
10 free Photoshop brushes for painting clothes
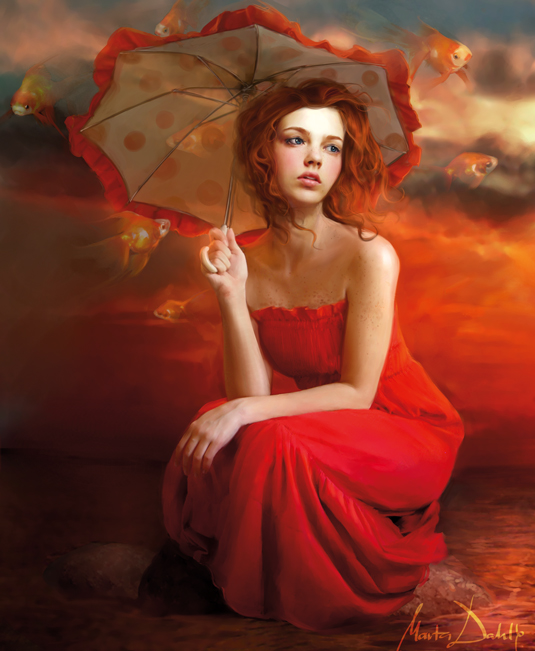
The various options offered by today's painting software are not only making it possible for digital artists to recreate all of the effects of traditional media, but also enabling them to create their own brushes of a kind that were inaccessible to the old masters. Such custom brushes – made manually or extracted from photographs – are a wonderful and innovative way to add texture to paintings and have now become a standard tool among digital artists.
In the first part of this three-part workshop, I presented various useful brushes for painting characters. In this second part I am going to look at costumes and the brushes that might be useful for creating, or speeding up the process of painting various elements of clothing and accessories.
I created the custom brushes outlined here in Photoshop, but, where possible, I am also sharing Corel Painter's brush settings for achieving similar effects.
Download all 10 brushes here, and stay tuned for part three next week!
01. Linen texture
This simple spackled brush makes texturing linen easier than ever. Just paint the desired folds and later, on a new layer, paint some vertical and horizontal brushstrokes. Remember to keep the brush size small and change the hue from time to time. To touch up, play with the Opacity and Layer modes to see if you can enhance the created effect. You might also want to use the Burn/Highlight tool in the most/least convex areas of the fabric.
Photoshop:
- Opacity: 100%
- Flow: 50%
- (Shape Dynamics) Size Jitter: Off
- Angle Jitter: 0%
- (Roundness) Jitter: 73%
- Minimum Roundness: 62%
- (Texture)
- Wrinkles Scale: 45%
- Texture: Each
- Tip: On
- Mode: Multiply
- Depth/Minimum Depth: 100%
- Depth Jitter: Off
- (Dual Brush) Diameter: 110px
- Spacing: 15%
- Scatter: Both axes, 0%
- Count: 1
- (Other Dynamics) Opacity Jitter: 0%
- Flow Jitter: 0%
Painter:
- Sketching Pencil
- Opacity: 50-100%
- Grain: 18%
- Bleed: 10%
- Jitter: 0%
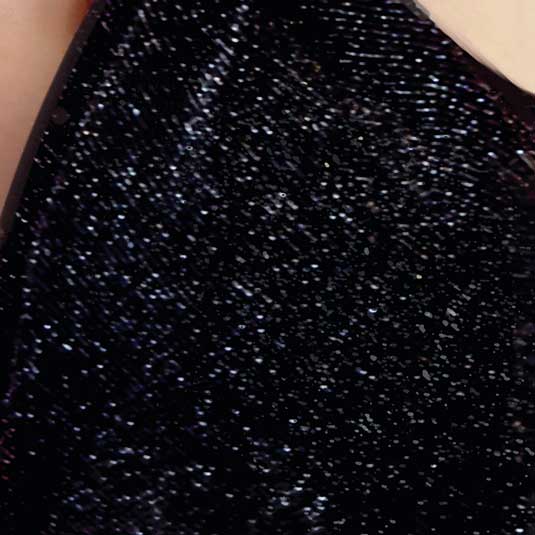
02. Brocade

I use this spackled brush for texturing brocade fabrics. It looks plain, but used correctly it can be extremely powerful. To get the best from this brush always use it at full opacity, constantly adjusting the lightness between the applications. To push the realism of the texture, blur the specks from time to time and use the Dodge and Burn tools to accentuate singular dots to a higher extent.
Photoshop:
- Opacity: 90-100%
- Flow: 50%

Painter:
- Tiny Spattery Airbrush
- Opacity: 75%
- Spread: 45%
- Flow: 1
- Feature: 9
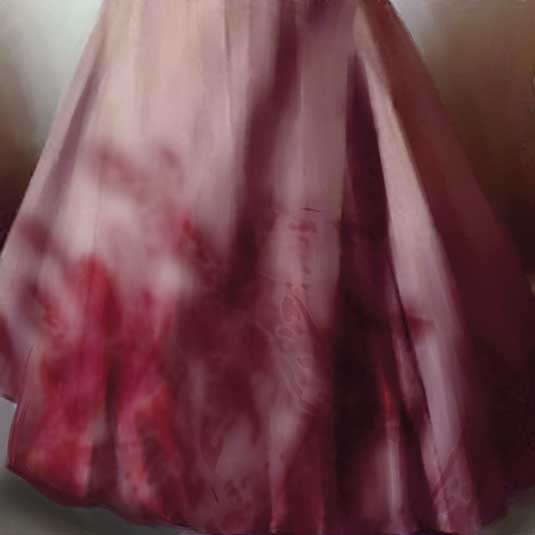
03. Silk and satin
This brush is a hybrid between a Ragged Edge Hard Round (described in the first part of this workshop) and an Airbrush, which makes it a fabulous blender and a texturing tool at the same time. It is especially effective when painting textiles with smooth colour transitions, such as satin or silk.
Photoshop:
- Opacity: 20-80%
- Flow: 50%
- (Shape Dynamics) Size Jitter: 0%
- Minimum Diameter: 10%
- (Other Dynamics) Opacity Jitter: 0%
Painter:
- Tinting: Basic Round
- Opacity: 10-30%
- Resat: 20%
- Bleed: 100%
- Jitter: 0%
- Tinting: Blender
- Opacity: 5-10%
- Grain: 0%
- Resat: 70%
- Bleed: 100%
- Jitter: 0%
- Blenders: Just Add Water
- Opacity: 10-40%
- Resat: 0%
- Bleed: 50%
- Jitter: 0%
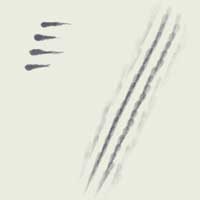
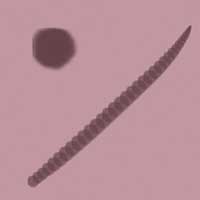
04. Spattered Blood
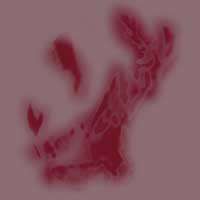
Now here is something for your more morbid paintings! This brush was made by accident, but it proved great for creating stains on textiles, especially for a spattered blood effect. Use this as a stamp on a separate layer with Overlay mode switched on. Blur (and occasionally rotate) the colour blocks for a natural effect.
Photoshop:
- Opacity: 20-50%
- Flow: 50%
Painter:
- Unavailable
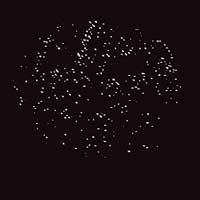
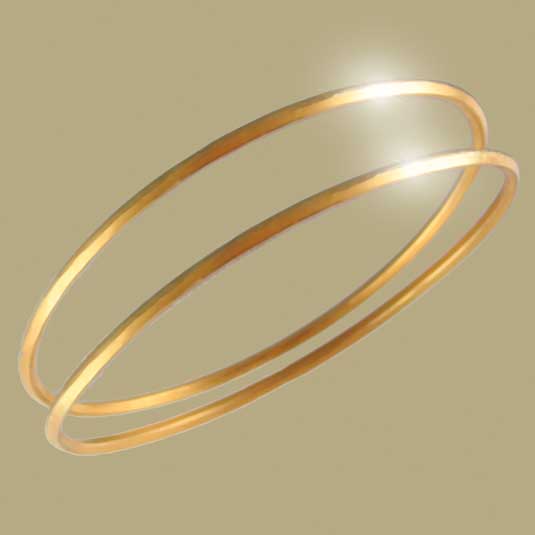
05. Glows
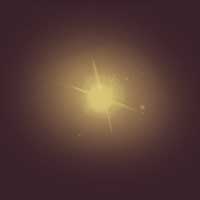
This little stamp brush is extremely useful for all kinds of jobs. It can simulate all sorts of reflections and glow on metal objects, brocade and sequins, as well as act as a star or sun stamp. In addition it can be used to create the fairy dust effect.
Photoshop:
- Opacity: 60-100%
- Flow: 50%
Painter:
- Airbrushes: Fine Tip Soft Air
- Opacity: 5-10%
- Resat: 100%
- Bleed: 0%
- Jitter: 0
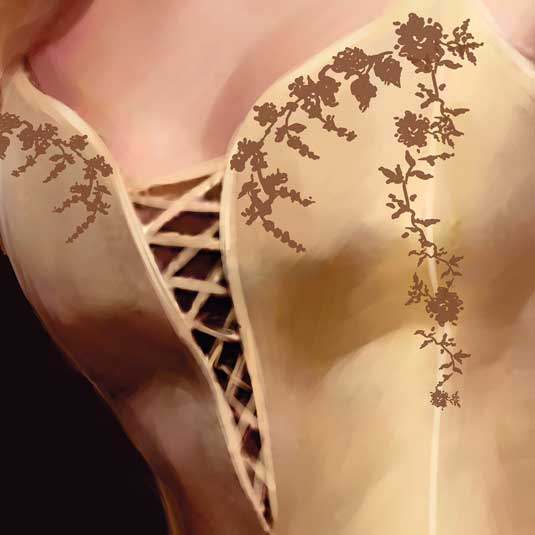
06. Material patterns
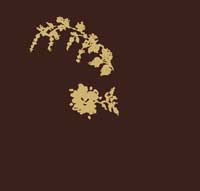
This is a set of three stamp brushes that I frequently use to create floral patterns for my characters' dresses. There are dozens of possibilities for interesting patterns, as long as you keep resizing and rotating the brushes.
By experimenting with layer modes you can create semi-transparent patterns for lace (I use Soft Light or Multiply, depending on the colour) or a nice basis to paint embroidery upon.
Photoshop:
- Opacity: 100%
- Flow: 50%
Painter:
- Unavailable
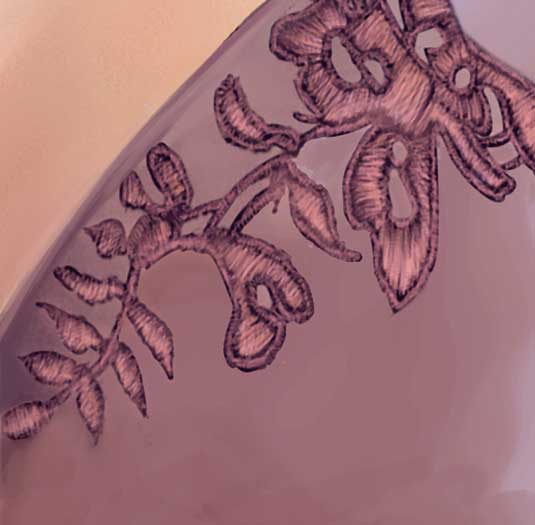
07. Embroidery
With its sparse spacing this brush looks a bit pixellated, which is a great means of achieving a realistic thread effect. Start off with a dark zigzag pattern and move to lighter colours. The more layers of thread you lay down, the thicker the embroidery will look. To underline the thickness, form your zigzags into arches instead of straight lines. Remember to keep your brush size very small at all times!
Photoshop:
- Opacity: 70-100%
- Flow: 50%
- Spacing: 50%
- Shape Dynamics:
- Size Jitter: 0%
- Min diameter: 0%
Painter:
- Thick And Thin Pen
- Opacity: 100%
- Resat: 100%
- Bleed: 0%
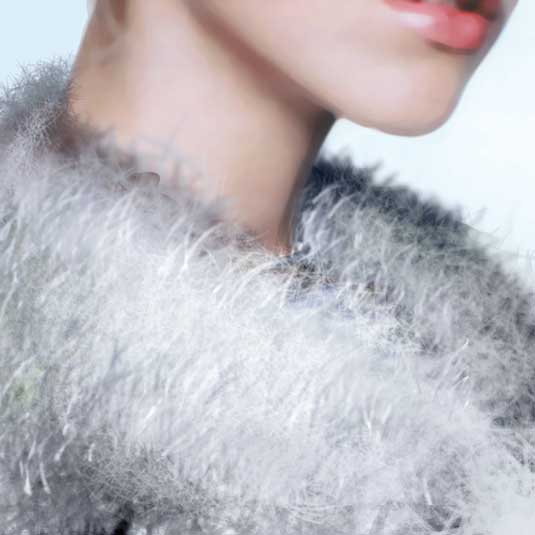
08. Feather boas

This is a great texturing brush, which will enable you to mark out the details of a feather boa, without having to paint each individual feather separately.
First, block the general shape of the object and roughly shade it, marking the highlights and shadows with an Airbrush. Afterwards, use the Feather brush on a low opacity on top of the existing shape. Switch the sizes and colour depth constantly, marking some darker and lighter areas.
After you have the basic texture in place, try to underline singular feathers by giving them some extra highlights and shadows underneath. This is an easy way to create a realistic looking boa.
Photoshop:
- Opacity: 10-70%
- Flow: 50%
- (Shape dynamics) Size jitter: 0%
- Minimum diameter 10%
- Angle Jitter: 11%
- (Scattering) Both axes, 294%
- Count: 1
- Count Jitter: 98%
- (Other dynamics)
- Opacity Jitter: 0%
- Flow Jitter: 0%

Painter:
- Unavailable
09. Fur
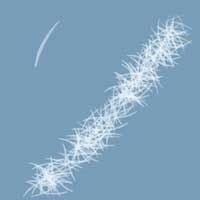
This is a simplified version of Painter's Furry brush. At first it is difficult to achieve satisfying results, but once mastered it speeds up the process of painting fur. After you have the general shape marked with an airbrush tool, add fur strands on a new layer. When the first strokes are done, use the Gaussian Blur tool on it. Change the brush's hue, make another layer of strands and blur it again.
Photoshop:
- Opacity: 10-70%
- Flow: 50%
- (Shape dynamics) Size jitter: 0%
- Minimum Diameter: 1%
- Angle Jitter: 45%
- (Scattering)
- Both axes, 109%
- Count: 1
- Count Jitter: 98%
- (Other dynamics) Opacity Jitter: 0%
Painter:
- F-X
- Furry Brush
- Opacity: 10-20%
- Resat: 25%
- Bleed: 0%
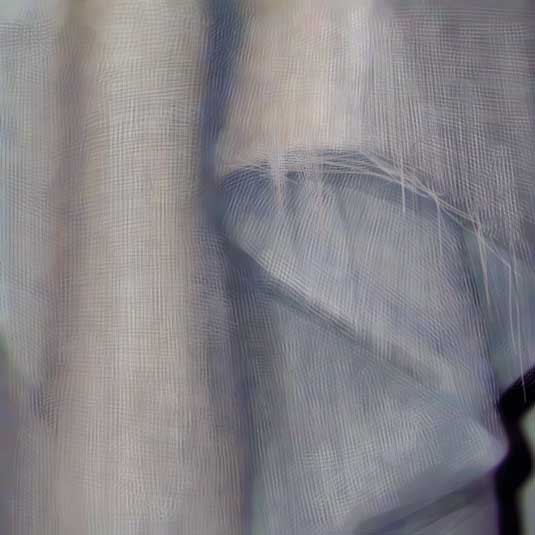
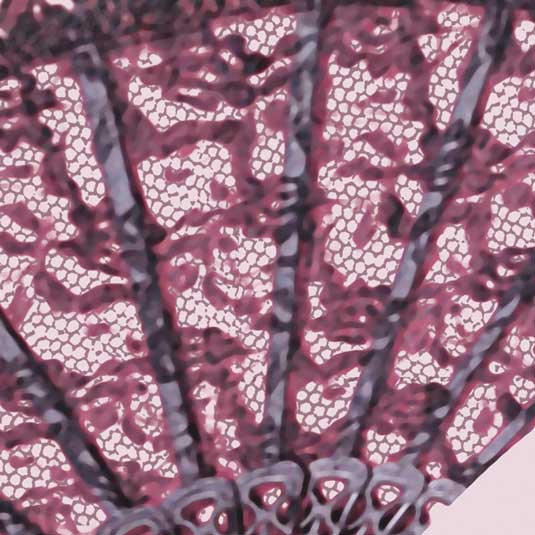
10. Lace
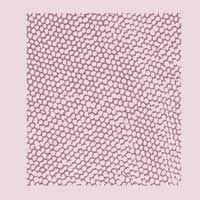
This stamp brush is extracted from a veil photograph I made and is perfect for texturing lace in garments or objects. It's easy to use – place it on a new layer (with the Multiply mode on) over the object to texture and you're done! You might want to blur it slightly for a more realistic effect.
Photoshop:
- Opacity: 50- 100%
- Flow: 50%
Painter:
- Unavailable
Words and illustrations: Marta Dahlig
Marta Dahlig is a talented Polish artist who has been working with Photoshop and Painter for years. She's currently a freelance illustrator. This workshop originally appeared in ImagineFX.
Related articles
How to Make a Painting Brush in Photoshop
Source: https://www.creativebloq.com/digital-art/free-brushes-painting-clothes-111413454
0 Response to "How to Make a Painting Brush in Photoshop"
Post a Comment